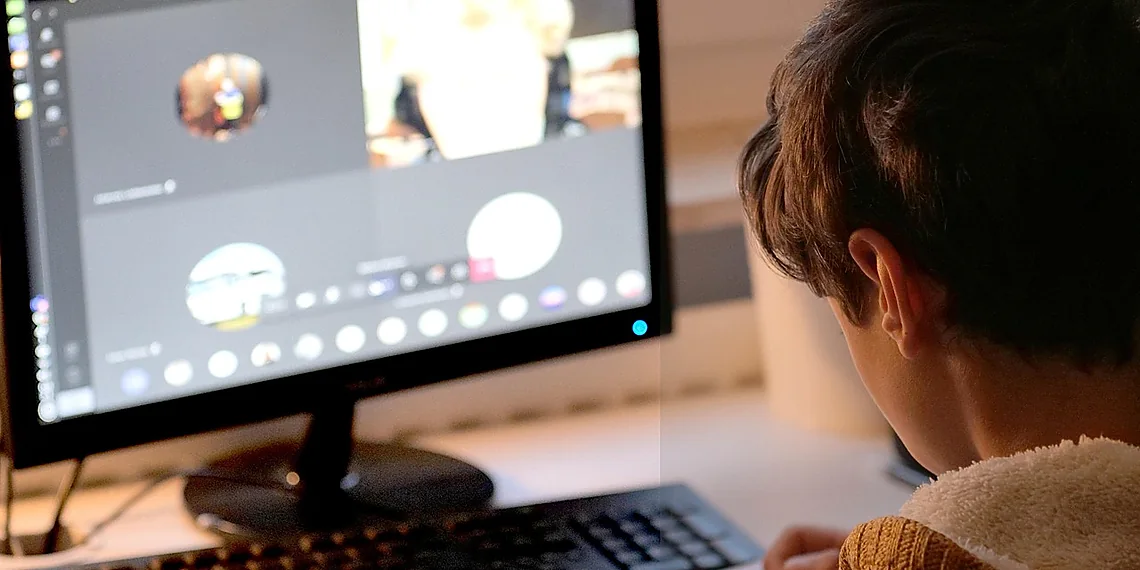
Let’s be honest, those early pandemic video calls were… rough. Grainy images, dull colors – it felt like we were broadcasting from a potato sometimes.
And even now, whether you’re presenting to clients, streaming on Twitch, or just chatting with friends and family, that low-quality webcam footage can really detract from your message.
But what if you could instantly transform your basic webcam into something resembling professional DSLR quality? It sounds like a pipe dream, right?
The good news is it’s not! You don’t need expensive equipment or complicated software to achieve that coveted ‘webcam dslr effect.’”, “We’re going to show you how to leverage the power of free OBS plugins to dramatically improve your video appearance without spending a dime.”,


Why Your Webcam Looks… Like a Webcam
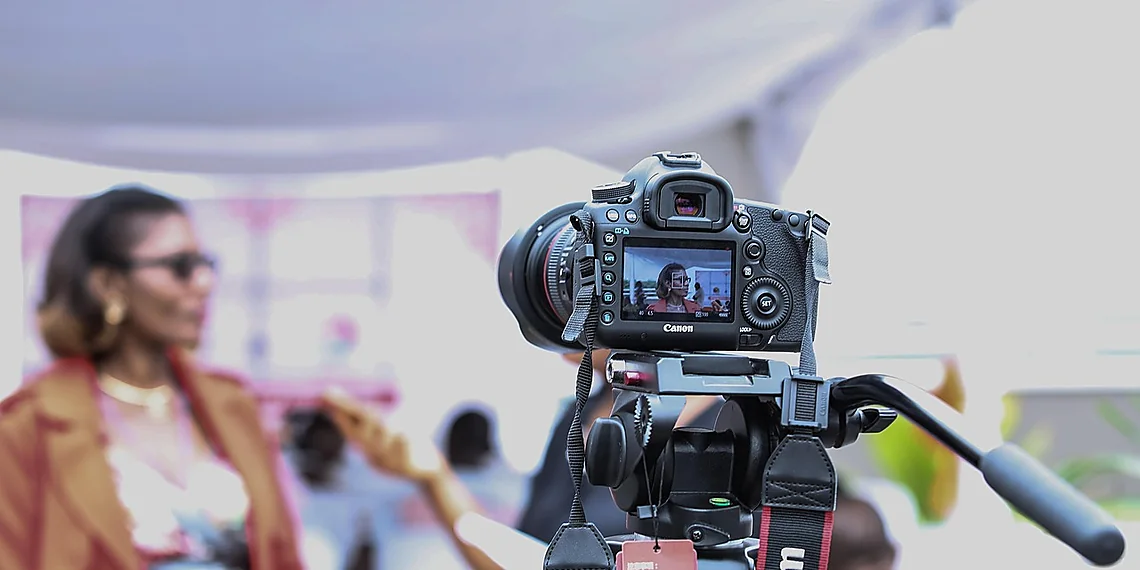
Ever wonder why your video calls always look a little… grainy? Or why your online presentations lack that professional polish? The culprit often lies in the fundamental limitations of standard webcams. Unlike dedicated cameras like DSLRs or even smartphones, most built-in webcams are designed for affordability and compactness, not necessarily image quality. This translates to compromises across several key areas – sensor size, lens quality, and processing power – which collectively contribute to that distinctly ‘webcam’ look.
Let’s break down what’s happening under the hood. The heart of any camera is its sensor; it’s what captures the light and converts it into an image. Webcams typically use tiny sensors, often smaller than a fingernail! This small size severely limits their ability to gather enough light, leading to increased noise (that grainy appearance) especially in lower-light conditions. Larger sensors, like those found in DSLRs, capture significantly more light, resulting in cleaner, brighter images with much better dynamic range – the ability to handle both bright and dark areas of a scene effectively.
The lens is another crucial factor. Webcam lenses are usually mass-produced and optimized for cost, not optical performance. This often means they suffer from distortions like chromatic aberration (color fringing) and softer image sharpness compared to higher-quality lenses used in DSLRs. Furthermore, the shallow depth of field – that beautiful blurry background you see in professional videos – is difficult to achieve with a standard webcam lens because it requires a larger aperture and more sophisticated optics. The combination of these limitations creates an image that often appears flat, noisy, and lacking in detail.
Finally, processing power plays a role. Webcams have limited onboard processing capabilities; they don’t have the computational muscle to apply complex algorithms for noise reduction or sharpening like you’d find in a DSLR. This means more of those imperfections are visible in your final video stream. While we can’t fundamentally change the hardware, thankfully there are software solutions – and that’s what we’ll explore next – to mitigate these limitations and get closer to that desirable ‘webcam dslr effect’.
The Hardware Hurdles: Sensors and Lenses
Most webcams use tiny image sensors, much smaller than those found in even entry-level DSLRs or mirrorless cameras. Think of the sensor as the ‘eye’ of the camera; a larger eye can gather more light and detail. Because webcam sensors are so small, they struggle to capture subtle nuances in lighting. This often results in grainy footage, especially in lower light conditions – what you might notice as ‘noise’ on your video.
The lenses used in webcams are also typically inexpensive and mass-produced. High-quality camera lenses are designed to focus light precisely onto the sensor, creating sharp images with a pleasing depth of field (the area that appears in focus). Cheaper webcam lenses often lack this precision; they can introduce distortions or blurriness, and contribute to a shallow depth of field – meaning only a narrow slice of what you’re showing is truly clear. This ‘flat’ look isn’t inherently bad, but it contributes to the characteristic webcams appearance.
Finally, image processing plays a crucial role. DSLRs have powerful processors that handle complex tasks like noise reduction and dynamic range optimization (balancing bright and dark areas of an image). Webcams generally have limited processing power, meaning they can’t compensate as effectively for the limitations of their small sensors and lenses. This combination of factors – sensor size, lens quality, and processing capability – explains why webcam video often looks less professional than footage from a dedicated camera.
OBS Plugins to the Rescue
Want that professional, cinematic look for your webcam streams or video calls without shelling out hundreds on a fancy camera? The secret lies in OBS Studio, a free and open-source software initially designed for live streaming but incredibly powerful for enhancing any webcam feed. Think of it as your digital editing suite – completely free! While OBS itself offers a decent base level of control, its true magic unlocks with plugins. These small add-ons extend the functionality significantly, allowing you to replicate features typically found only in high-end DSLRs.
The beauty of OBS is its plugin ecosystem. Several readily available plugins specifically target mimicking DSLR aesthetics. Bloom, for example, adds realistic lens flares and light scattering effects – that gorgeous glow around bright objects that elevates a video from amateur to polished. The Sharpen plugin does exactly what it sounds like: increases the clarity and detail in your image, combating the often-soft look of budget webcams. It’s surprisingly effective at making even grainy footage appear crisper.
Perhaps the most impressive trick is simulating depth of field – that blurry background effect characteristic of DSLR portraits. A dedicated depth-of-field plugin allows you to selectively blur areas behind your subject, drawing focus directly to you and creating a visually appealing separation. The results aren’t perfect, of course; it’s software simulation after all. However, with some tweaking and experimentation, these plugins can dramatically improve the perceived quality and professionalism of your webcam feed, achieving a ‘webcam DSLR effect’ that would otherwise require significantly more expensive equipment.
Getting started is easier than you might think! Numerous online tutorials guide users through installing OBS Studio and its plugins. While there’s a slight learning curve to mastering these tools, the potential payoff – transforming an ordinary webcam into something resembling a DSLR-quality image – makes it well worth the effort. It’s a fantastic example of how creative use of free software can level up your digital presence.
Key Plugins: Bloom, Sharpen, and Depth of Field Simulation
OBS Studio (Open Broadcaster Software) is a remarkably versatile and completely free platform initially designed for live streaming, but it’s also an incredibly powerful tool for enhancing your webcam feed. While OBS itself provides basic adjustments, its true potential lies in the vast library of plugins available. These plugins allow you to apply sophisticated effects that can transform your standard webcam into something resembling a professional DSLR setup – all without needing expensive hardware.
Several key plugins contribute directly to achieving this ‘webcam DSLR effect.’ The Bloom plugin adds realistic lens flare and glow, mimicking the light dispersion seen in high-end lenses. Sharpen is exactly what it sounds like: it enhances details and reduces blurriness, making your image appear crisper and more professional. Perhaps most impressively, depth of field simulation plugins can artificially create that shallow focus look characteristic of DSLR photography – blurring the background while keeping you sharply in focus.
Depth of field simulation works by selectively blurring areas outside a defined focal plane. While not as physically accurate as true optical depth of field, these plugins offer a compelling visual approximation. Experimenting with different settings within each plugin—bloom intensity, sharpening radius, and blur gradient—allows for fine-tuning the effect to match your desired aesthetic and compensate for any limitations in your webcam’s native capabilities.
Step-by-Step Guide: Achieving the DSLR Look
Ready to transform your webcam from ‘basic’ to ‘professional’? Achieving that coveted DSLR look doesn’t require expensive equipment – just a little know-how! This guide will walk you through the steps of using free software, primarily OBS Studio and its plugins, to simulate depth of field, bloom, and sharpness typically found in high-end digital cameras. We’ll break down each stage so even beginners can create stunning webcam visuals without spending a dime.
First things first: install OBS Studio (it’s available for free at obsproject.com). Once installed, you’ll need to add the necessary plugins. Search for and install ‘Bloom’ and ‘Depth of Field’ from the OBS plugin store – these are essential for creating the DSLR effect. Don’t worry about complex settings initially; we’ll cover how to adjust them in the next step. Think of this as laying the groundwork – you can always tweak things later!
Now, let’s fine-tune those plugins! For Bloom, start with a low intensity (around 0.15) and gradually increase it until you see a subtle glow around bright areas of your image – too much will look artificial. The Sharpen plugin should be used sparingly; a radius between 25-50 usually provides a good boost without introducing excessive noise or artifacts. The ‘Depth of Field’ plugin is where the real magic happens. Experiment with the ‘Focus Distance’ setting to blur the background and bring your foreground into sharp focus – this creates that beautiful, cinematic look often associated with DSLRs.
Finally, remember that experimentation is key! These settings are a starting point; your ideal values will depend on your webcam’s resolution, lighting conditions, and personal aesthetic. Don’t be afraid to adjust the plugin parameters until you achieve a result that looks natural and pleasing. Save your scene configuration in OBS so you can easily recall these settings for future streams or video calls – now go forth and impress with your upgraded webcam!
Configuring Your OBS Scene and Plugins
To achieve that coveted DSLR look on your webcam using OBS Studio, you’ll need to install a few essential plugins. Start by downloading and installing OBS Studio itself from obsproject.com; it’s free and available for Windows, macOS, and Linux. Once OBS is installed, navigate to ‘Tools’ -> ‘Plugins’ -> ‘Plugin Repository’. From here, search for and install the ‘Newtake’ plugin – this provides access to several DSLR-like effects. You may also find other plugins like ‘Advanced Warped Video’ or similar that offer alternative blurring/depth of field options; experiment to see what you prefer.
With Newtake installed, create a new scene in OBS and add your webcam as a source within that scene. Right-click the webcam source and select ‘Filters’. You’ll now see a list of available filters. Add the ‘Bloom’ filter first and adjust the intensity slider to taste – a subtle bloom can soften edges and give a more cinematic feel. Next, add the ‘Sharpen’ filter; start with a small radius (around 0.2-0.4) and increase it gradually until your image looks crisp without appearing overly artificial. Finally, add the ‘Depth of Field’ filter. This is where things get interesting – experiment with the ‘Focus Distance’ slider to blur the background and emphasize yourself.
The Depth of Field effect requires some experimentation. The ‘Focus Distance’ setting determines how far away objects need to be to appear in focus. Lower values (closer distances) will make items closer to you more focused while blurring further elements. Adjusting the ‘Blur Radius’ within the Depth of Field filter allows finer control over the intensity of the blur. Don’t be afraid to reset filters and try different combinations – small adjustments can have a significant impact on the final look. Save your scene configuration for future use!
Beyond the Basics: Further Refinement
Once you’ve grasped the fundamentals of blurring and applying a shallow depth-of-field effect – essentially mimicking that DSLR ‘bokeh’ – it’s time to really dial in your webcam’s aesthetic. The difference between a passable imitation and a truly convincing DSLR look often comes down to subtle refinements, especially when it comes to lighting and color. Think of it this way: even the sharpest lens won’t save footage shot in poor light or with drab colors.
Lighting is arguably the most impactful element. Harsh overhead lighting creates unflattering shadows; instead, aim for soft, diffused light. A simple ring light can work wonders, but investing in a small softbox setup (even DIY versions are effective!) will elevate your video considerably. Pay attention to how light falls on your face and background – subtle adjustments can dramatically alter the mood and perceived quality of your webcam feed. Don’t underestimate the power of simply moving your position relative to a window or lamp.
Beyond lighting, basic color grading goes a long way towards achieving that cinematic feel. Most video editing software (even free options like DaVinci Resolve) offers tools for adjusting contrast, saturation, and white balance. Experiment with slightly desaturating the image and boosting contrast – this can give your webcam footage a more professional look. For those wanting to go deeper, explore LUTs (Lookup Tables). These pre-designed color grading profiles offer instant stylistic transformations, often replicating looks seen in popular films or TV shows.
Ultimately, achieving a convincing ‘webcam dslr effect’ is about understanding that it’s not *just* the blurring. It’s the holistic package – lighting, color, and composition working together to create an image that feels more polished and intentional. Small tweaks in these areas can make your webcam footage look significantly better than you thought possible, all without spending a dime on new hardware.
Lighting & Color Grading for Cinematic Flair
Good lighting is arguably the single biggest factor in elevating your webcam’s appearance. Harsh overhead lights create unflattering shadows and can wash out skin tones. Investing in affordable solutions like softboxes or a ring light can drastically soften illumination, creating a more even and professional look. Experiment with positioning – placing the light slightly to one side often adds depth and dimension that flat lighting lacks. Even a simple desk lamp diffused with tracing paper can make a noticeable difference.
Beyond just brightness, color is key to a cinematic feel. Basic color grading involves adjusting parameters like contrast, saturation, and white balance within your video editing software (many free options exist!). A subtle increase in contrast can add punch, while carefully adjusted saturation brings out richer colors. Learning a few simple adjustments – perhaps slightly warming the tones for a cozy feel or cooling them for a more dramatic look – allows you to shape the overall mood of your webcam footage.
For those wanting even greater control and consistency, consider using Look-Up Tables (LUTs). LUTs are essentially pre-defined color grading presets that can be applied with a single click. Many free LUTs designed for film and photography are available online; these can quickly impart a specific cinematic style to your webcam video without requiring extensive manual adjustments. Just ensure your software supports LUT import.

So, there you have it – unlocking stunning video quality doesn’t require breaking the bank or investing in high-end gear.
We’ve shown how easily accessible OBS plugins can transform your webcam feed, bringing a professional polish to everything from online meetings to creative content creation.
The ability to achieve that coveted ‘webcam dslr effect’ through readily available software is truly game-changing for anyone looking to elevate their digital presence.
Experimentation is key; play around with the settings we’ve covered – color correction, sharpening, and background removal – to discover what works best for your unique style and setup. Don’t be afraid to push boundaries and get creative with these powerful tools! You might surprise yourself with what you can achieve using free resources and a little ingenuity. Remember, professional-looking video is now within reach for everyone, regardless of budget or experience level. It’s about leveraging the right techniques and embracing readily available technology. Now go forth and create captivating content that truly stands out from the crowd! Share your stunning webcam transformations with us on social media using #LevelUpYourWebcam – we can’t wait to see what you come up with!
Continue reading on ByteTrending:
Discover more tech insights on ByteTrending ByteTrending.
Discover more from ByteTrending
Subscribe to get the latest posts sent to your email.